Once a Motorcycle Carrier...
Now an RV Cargo Deck
I built this RV cargo deck to help solve the problem of us lookin' like 21st century Clampetts every time we hit the road... Seems like every time we start loading our camp... we end up lookin' like Jed and Granny.
The only thing missin' was the couch on the roof...
When we sold the V Star, that used to ride in the Motorcycle Carrier , that used to occupy the rear bumper area of the Eagle, it opened that space up for a new use...
That being... a home for the storage box, generator, chairs, and leveling blocks... among other things, that used to get stuffed in, under and around the hitch and the Roadstar Raider Motorcycle that occupy the truck bed.
... Made for a sometimes less than congenial relationship in this "House on a rubber foundation"... just about every time we went to packing camp... to move on down the road...
Trying to stuff things into every lil' nook and cranny... in a way that'd leave it available if needed, yet still not blow off when we hit a pot hole on the highway... was a recipe for squabbles... and less than sufficient outside storage space is one of the shortcomings of our Old Jayco.
So... with the lil' bike gone... it was time to make the Cowboy II motorcycle carrier gone too... so I could get towork framing in the new RV cargo deck.
It took a lot less time to remove that motorcycle carrier, than it took to install it! and in short order, we were workin' out the new rv cargo carrier...
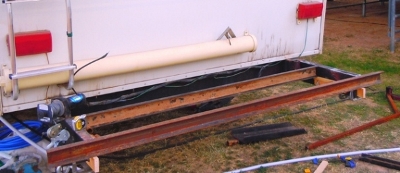
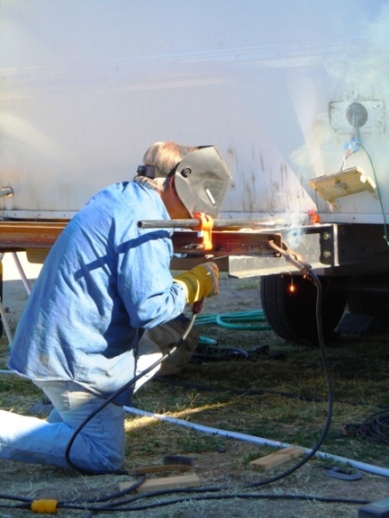
With the framing plotted out and welded in place, we had to run around and find a reasonably priced piece of diamond plate and have it cut to form the decking for the new RV cargo carrier.
Having left the central
Arizona area more than twenty years ago... it was a good thing I had my
brother-in-law Bud, to chauffeur me around to the steel shops he knew
of... or I'd still be lookin'!
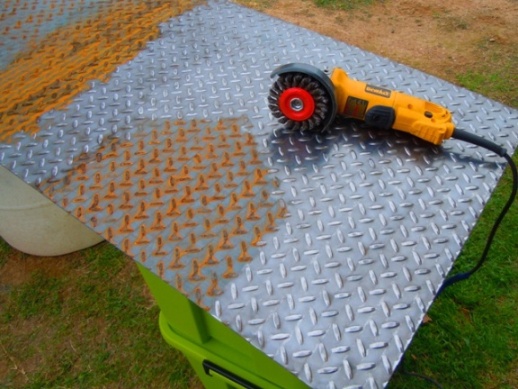
New steel, even in Arizona seems to have a coat of rust on it... so an hour or so was spent with a wire wheel on my grinder... polishing the diamond plate decking... to receive its coat of paint.
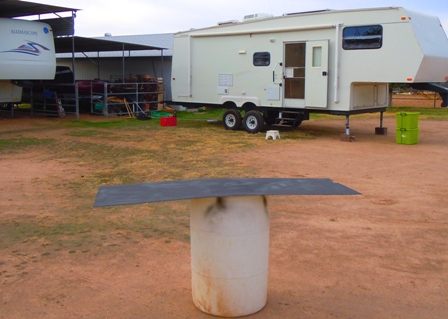
A guy needs to paint the cargo carrier framing too... before he covers it all up...
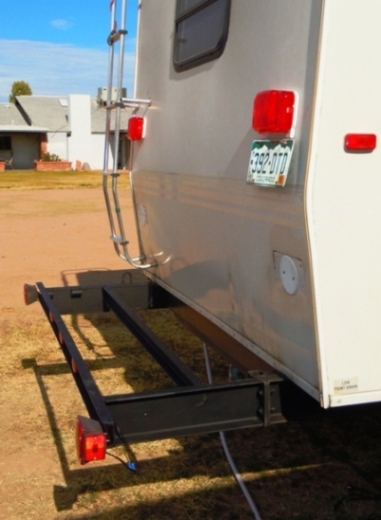
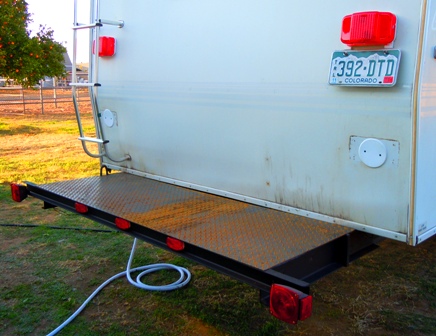
With all the pieces and parts of the RV Cargo Deck welded and painted and riveted in place I set about mounting the aluminum cargo box from the truck, our new champion generator, the leveler pad box... and a few other odds and ends.
One thing... those rivets holding the decking in place aren't something to be relied on, to do anything other than hold the decking in place...
To bolt the cargo box and generator down, I ran bolts through the frame members of the RV cargo deck. I've got no real desire to see sparks zingin' around some dark night... as we roll through the American West... when my generator falls off and goes skiddin' down the highway at 60 miles an hour!
As I was rebuilding the tail rack on the Eagle, I also reworked all the tail lights and marker lights. We had a little "incident" hauling through Utah... and I wanted to make gol' durn sure, that anyone running into the back end of my rig... couldn't claim a lack of lights was an excuse.
So... I replaced the cracked factory tail lights and raised 'em higher on the body of the rig, to clear any cargo carried on the cargo carrier... 'course, doing that left two 3"+ holes through the body where the Jayco people opened it up to run the wiring...
A pair of box covers from Home Depot fit right over those holes... and with a lil' silicone... sealed 'em up to prevent any rain or anything else from seeping into the body.
Also... To raise the "profile" of the rig I added three marker lights across the rear RV Cargo Deck cross member...
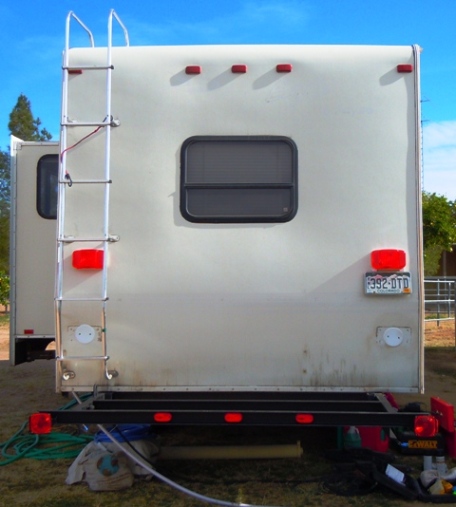

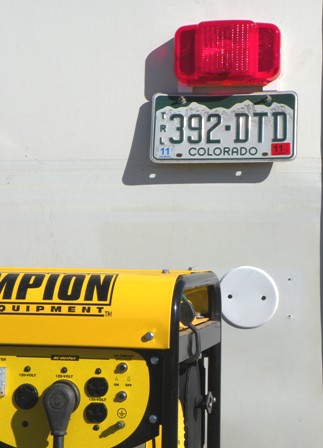
So now, where the Jayco factory installed two tail lights down low... I now have four fully visible tail lights and three new marker lights... added to the five factory markers across the the top.
That should make me a lil' more visible... to those drivers... who seem to have some difficulty seeing a 10 foot tall, 11,000 lb fifth wheel...
... rolling down the road... right in front of 'em! :o)
Well... it was a pretty simple job to cut off the old motorcycle carrier, burn in place the cross members, paint and rivet down the decking, and then bolt up everything that was to be mounted back there... I took a lil' care to make sure that I had security cables and locks... so that those tempted by a life of crime... wouldn't have too easy a time absconding with my treasured possessions.
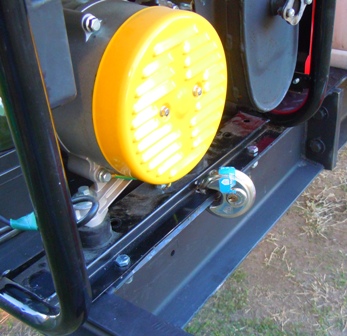
The generator got the most attention, when we mounted it on the RV Cargo Deck. It's bolted down by four bolts, with buggered up threads, which will shut down the smash and grab boys looking for a quick getaway... and then the additional security of a "puck" lock was added through a frame member.
You can't totally stop a determined thief... but, since the majority of 'em are lazy parasites, all you need do is require a sufficient amount of work on their part, to steal your goods... and they'll usually just wander off looking for easier pickings...
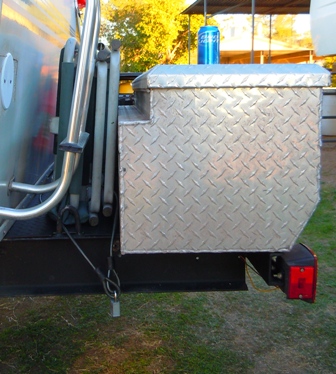
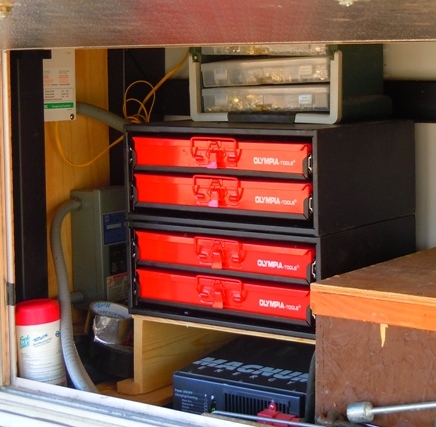
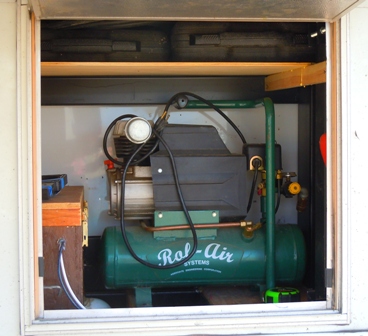
With the increase in efficiency and convenience we gained by adding this RV cargo deck, I was able to open up enough room in the front compartment to install a set of hardware bins, as well as my 3/4 HP compressor... which with the addition of the generator last fall, I now have the power to run... HooYa!
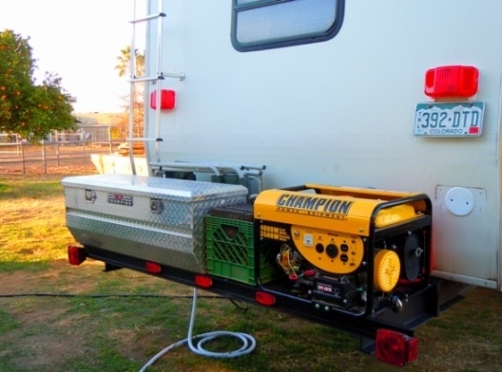
So... there you have it... Greatly Improving the storage and accessibility of my camp cargo on our fiver, with the addition of an RV Cargo Deck!
My future plan, when I can, is to build one, single, compartment to replace the smaller aluminum box and provide a protective, but vented, enclosure for the generator as well...


